Beginner to Advance Use of Shapes in PPT
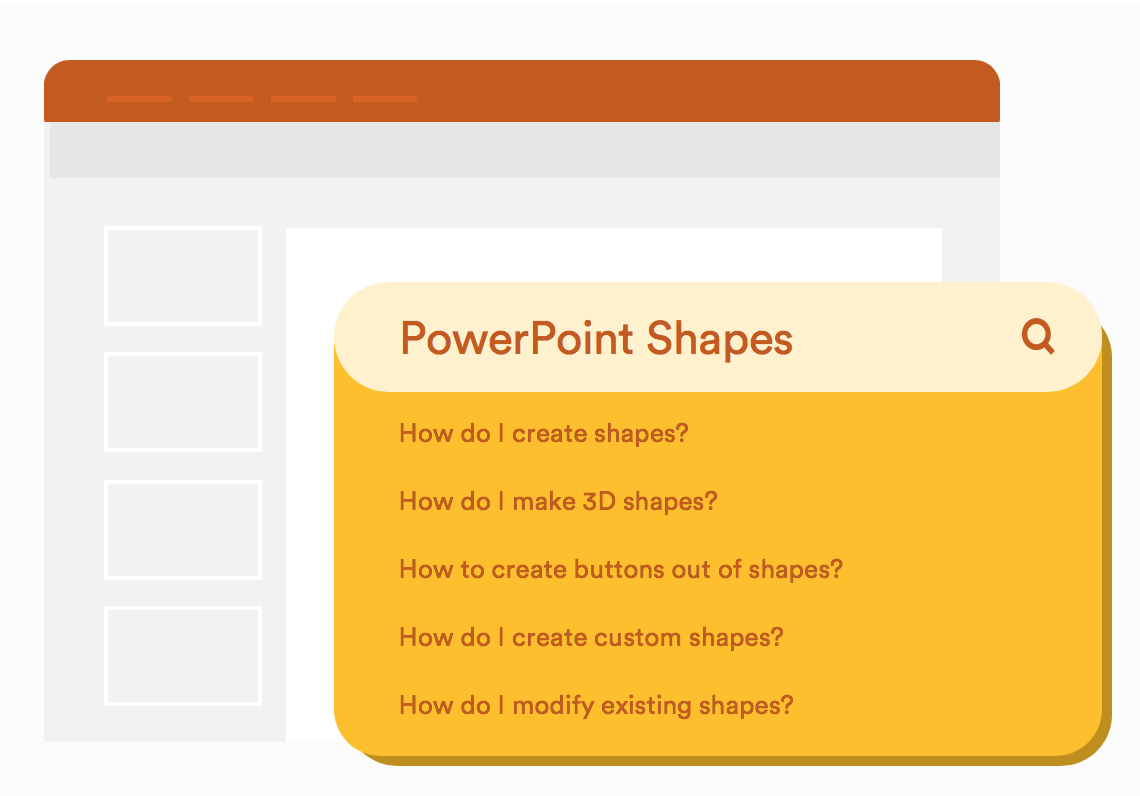
In PowerPoint, Shapes are basically the building blocks for how you can style your presentation to give it a look that says “I’m more than just a template”.
Ever seen a tangram before? A tangram is a puzzle consisting of seven deceptively simple polygons that fit together to form a mind boggling number of shapes.
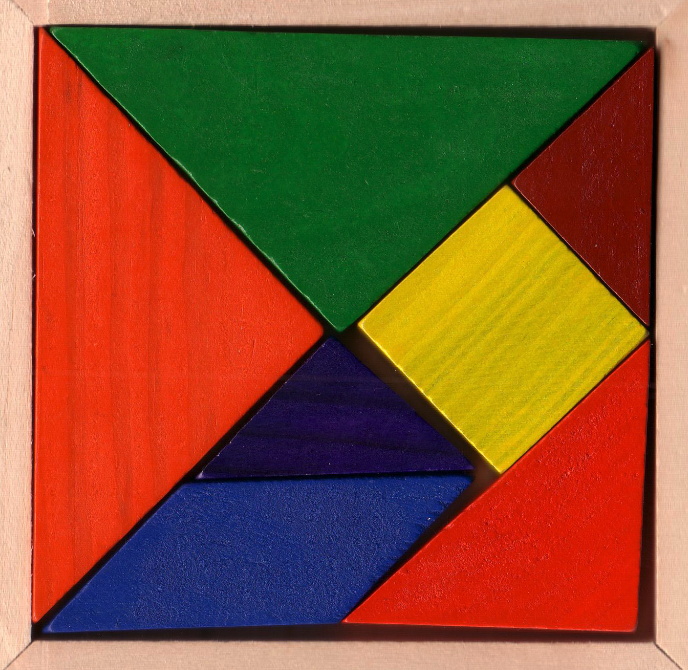
Think about that for a second... while most people think of Shapes as just circles, triangles, or squares, there are actually a ton of ways they can be arranged to create complex patterns and icons, and backgrounds. When combined with text, the possibilities stretch even more. Think buttons, subtle labels and more. All it takes is a bit of creativity and technical know-how (two things that we'll help you with in this article!)
First of all, let’s go over the basics for using Shapes:
1. Creating a Shape
PowerPoint comes with over 90+ built-in shapes to choose from so it’s easy to create one with just a few clicks. After you select one from Insert > Shapes, click anywhere on the screen, drag and release to form your shape.
Pro-tip: By holding down the Shift key while dragging, you can create a perfectly uniform shape everytime!
2. Formatting a Shape
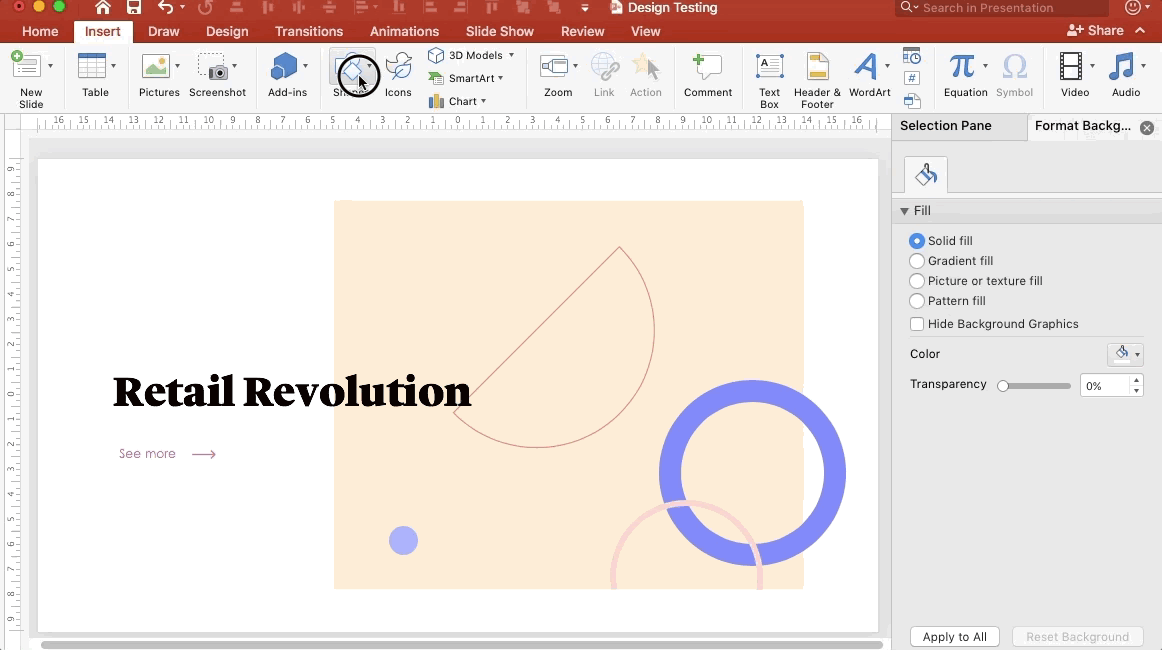
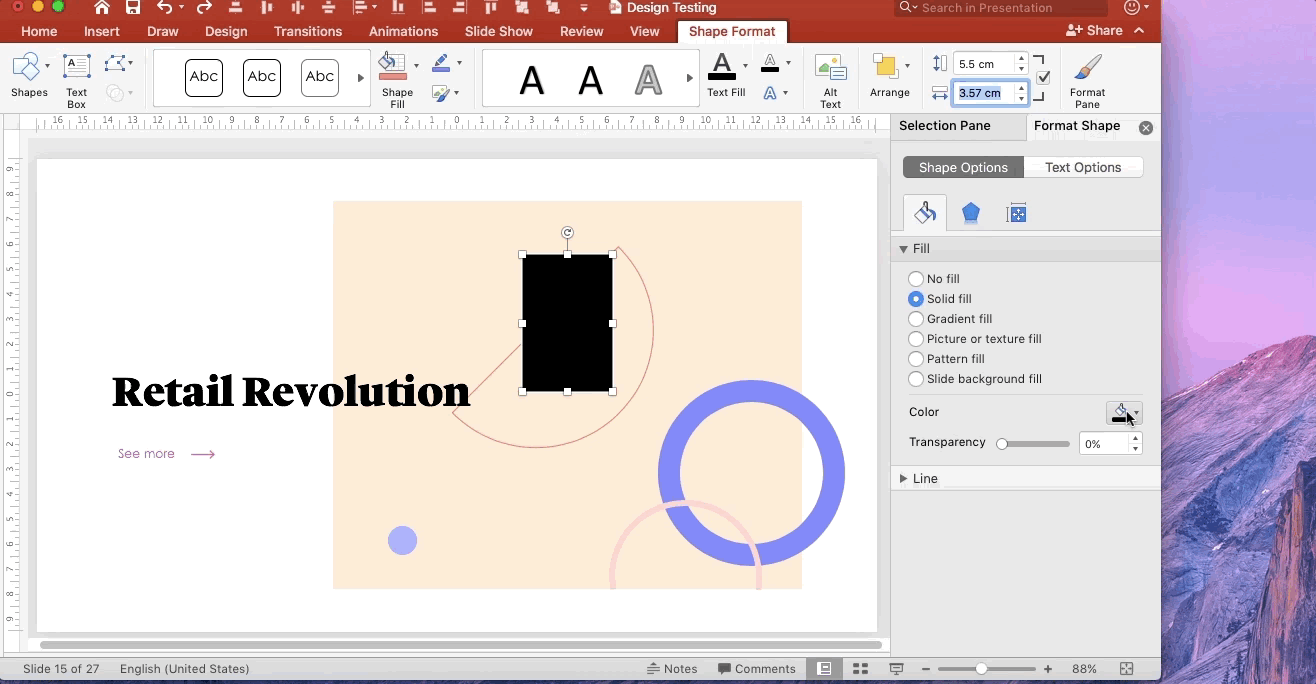
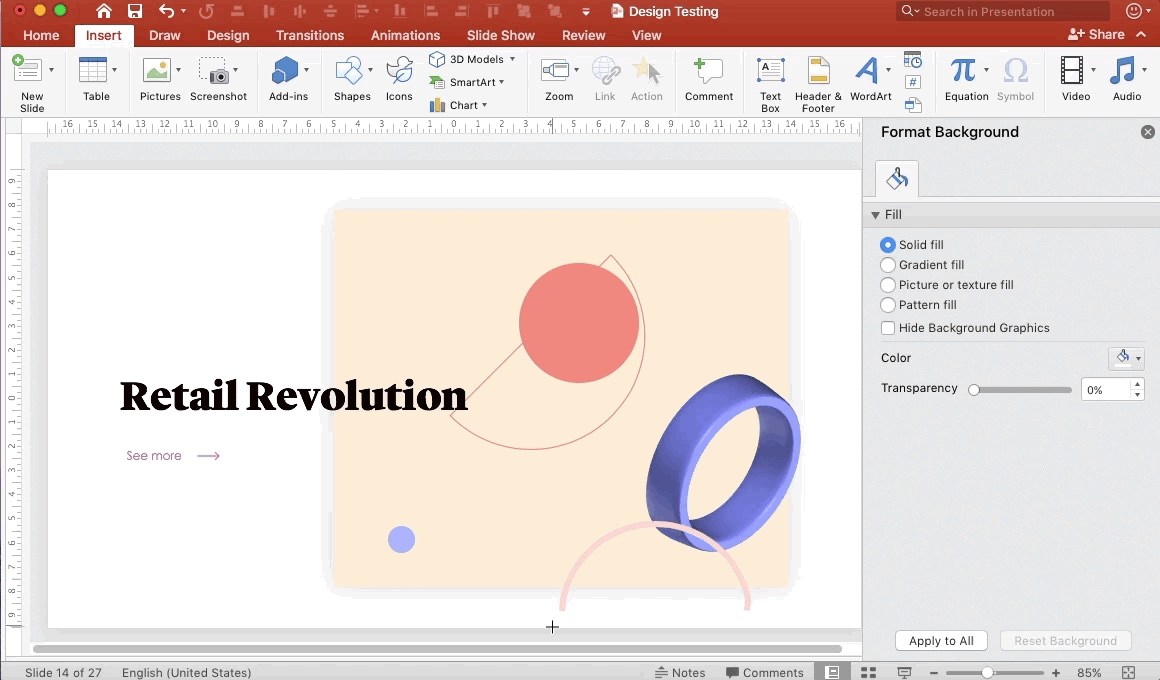
After creating a Shape, you can modify many elements of it including its size, color, rotation, line stroke, and so forth. The easiest way to do this is by right clicking on the Shape and going to Format Object. From here, you can access many of its options via the toolbar to the right of the screen.
A quick way to adjust the Shape to pixel perfection is to enter its exact size in the toolbar up top (as seen below).
Pro-tip: The checkbox to the right of this setting is to lock the aspect ratio - which is just another way to say, for instance, that if you increase the length of the shape, the width of it will adjust automatically by the same ratio (to preserve the proportions of the overall Shape).
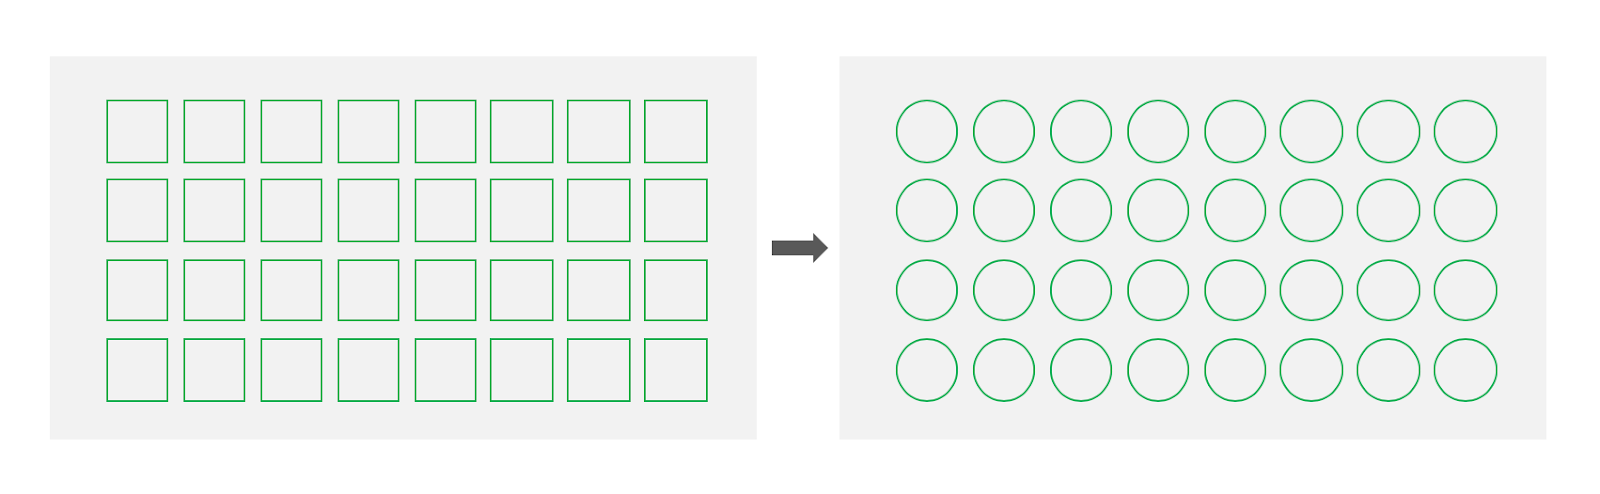
3. Changing a Shape
If you’ve created a Shape, formatted it to perfection, then realize later that you actually needed it to be a different Shape altogether - you don’t need to start from scratch. Instead, use the Change Shape feature to quickly swap in what you need to.
Pro-tip: You can change more than one Shape at once by holding down the Shift key to select as many as you want, before going to Change Shape (trust me, this tip can save you a lot of time if you’re trying to move quickly)!
4. Adding Depth to a Shape
A design style that’s growing in popularity, particularly in the world of modern UI, is the use of shadows. This helps elevate a basic shape to give it visual depth. In PowerPoint, creating shadows takes just seconds. Bring up the Format Object toolbar to the right then navigate to Shape Options > Effects > Shadow.
There are a number of preset shadows you can choose from, with a lot of room for customization given the various options for color of the shadow, as well as its transparency, size, blur, angle, and direction.
Pro-tip: Observe the world around you - you’ll notice that shadow sizes reflect an object’s elevation away from its surface. An object at higher elevation has a larger, more blurred shadow while objects at lower elevations have smaller, less blurred shadows. Depending on how much depth you want your shape to achieve, keep this in mind!
5. Transforming a 2D Shape into a 3D Shape
This one might not be for the everyday presentation, but if you want to create an extra bit of oomph in your design, or bring another dimension altogether, then the 3D Format feature will come in handy.

With your 2D shape selected, go to Format Object > Shape Options > Effects > 3D Format. While there are many different combinations of ways you can build out your 3D Shape, the quickest way you can achieve this is by creating a Top Bevel (select one of the various presets), extending out the Bevel Height, then adjusting its 3D Rotation. From here, you can start to play around and tweak the 3D Shape to adjust it to the perspective you’d like.

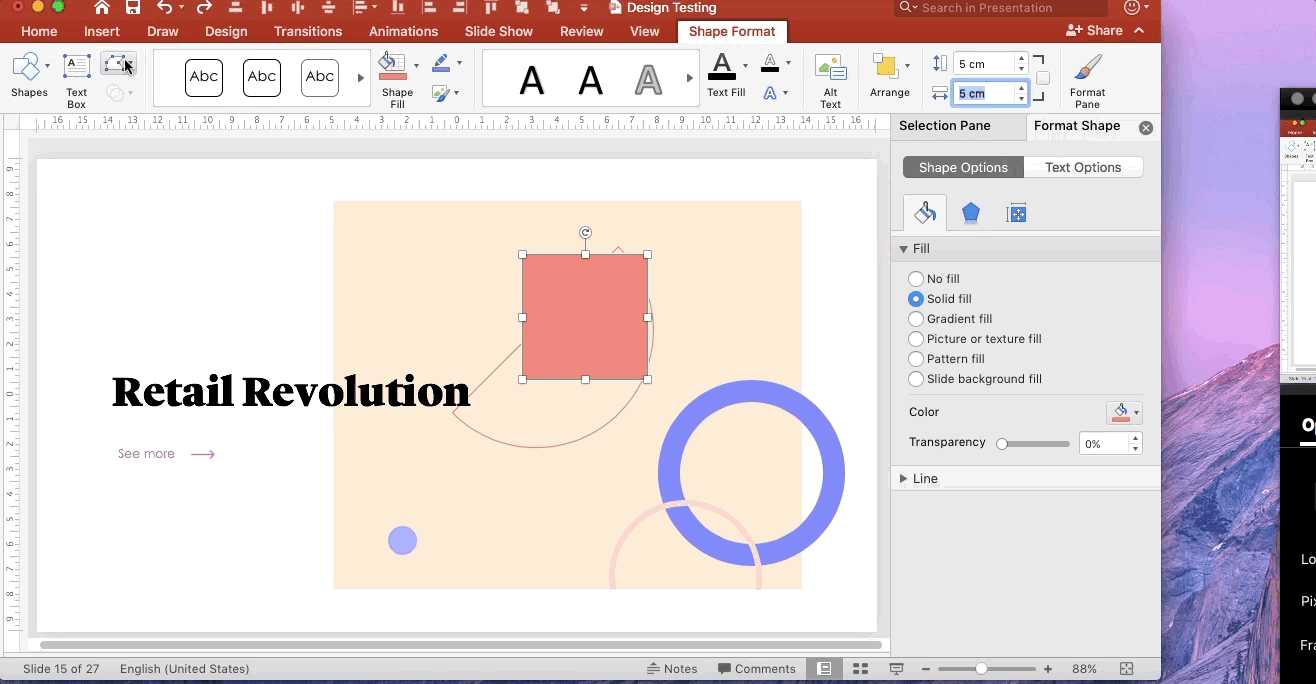
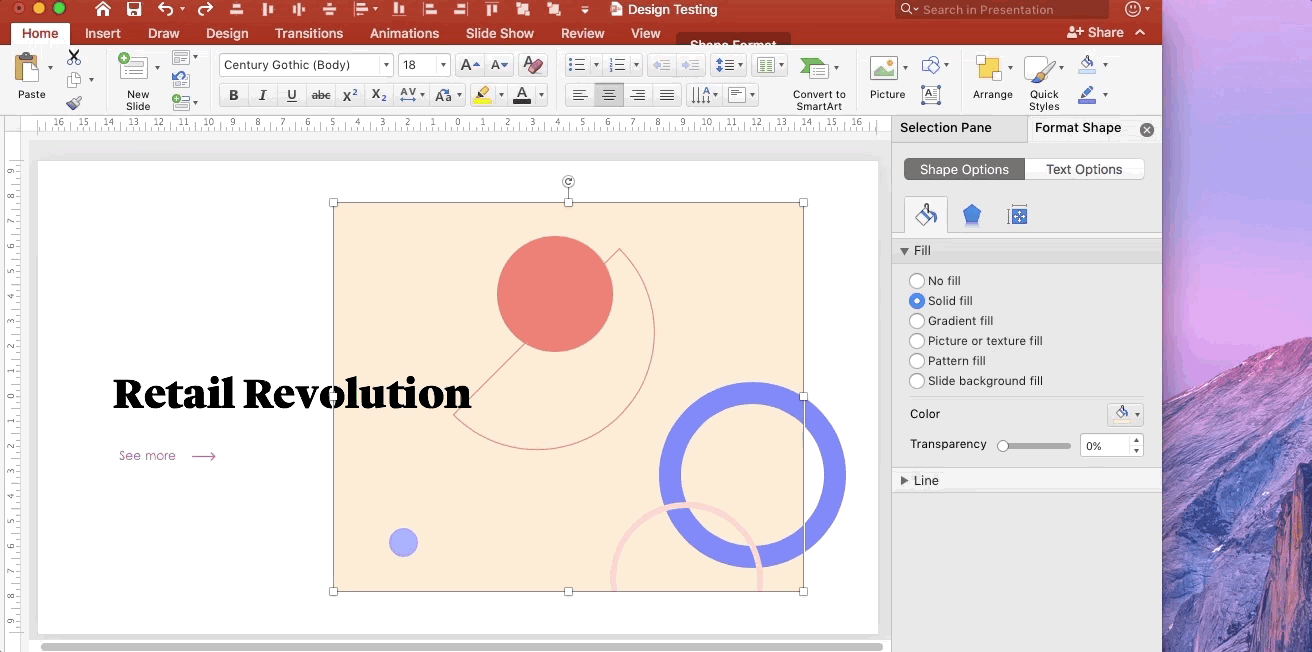
6. Modifying Existing Shapes
When you need to create a new Shape out of an existing Shape, use the Merge Shape feature within Shape Format.
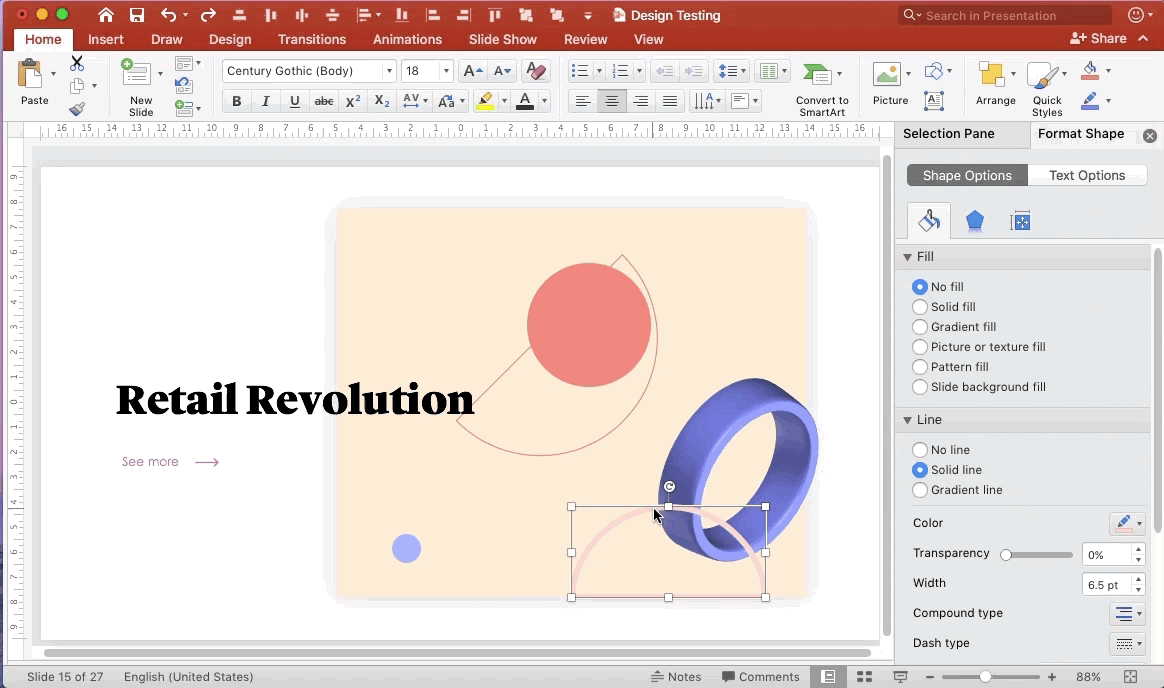
In the example below, say you want to remove the lower bit of the pink semicircle extending past the peach background. You can create a rectangle that overlaps that specific lower bit, then select the semicircle and the rectangle, and go to Merge Shape > Subtract.
Pro-tip: Order matters in this case! If you want to subtract the rectangle’s area from the semicircle, so you need to select the semicircle first, hold down the Shift key, then choose the rectangle next.
7. Editing Points Within a Shape
Every Shape has points within its outline that you can edit to change the appearance of that Shape. While the average user might find the 90+ Shapes preset plentiful, editing points can help you achieve unique and custom appearances.

To do this, right click on the Shape and go to Edit Points. From here, you can move any point (black dot along the outline), create new points, or delete paths (a line that exists between two points).
With these technical skills down, with some creativity you can start combining various techniques together to create unique designs and styles. Here are a few more ways to use Shapes for your inspiration.
8. Creating a Button
Buttons are a great visual tool to create a sense of action that needs to be taken.
To create the impression of a button, we can use a Shape behind a short piece of text or icon. For additional styling, you can consider adding a Shadow effect or combining with further shapes to suggest that the user is to take some form of action.


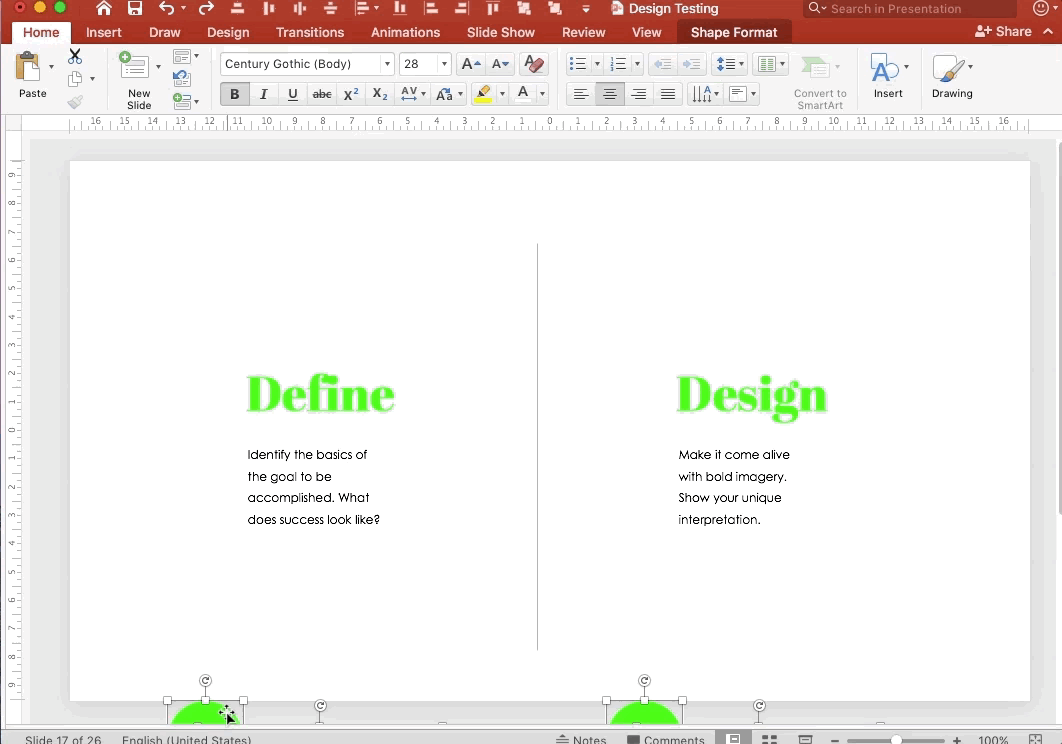
9. Give Meaning to Text
To elevate text on a slide, Shapes can give it prominence and create new meaning out of it. Using the techniques covered, we can start to create practical designs out of them.
For instance, in the below, through the use of Shape design, we can understand the two bodies of text are related (rather than opposing) given the identical visual treatment of the Shapes surrounding them. It’s a simple yet effective way to help guide someone’s understanding of how content on the slide should be interpreted.
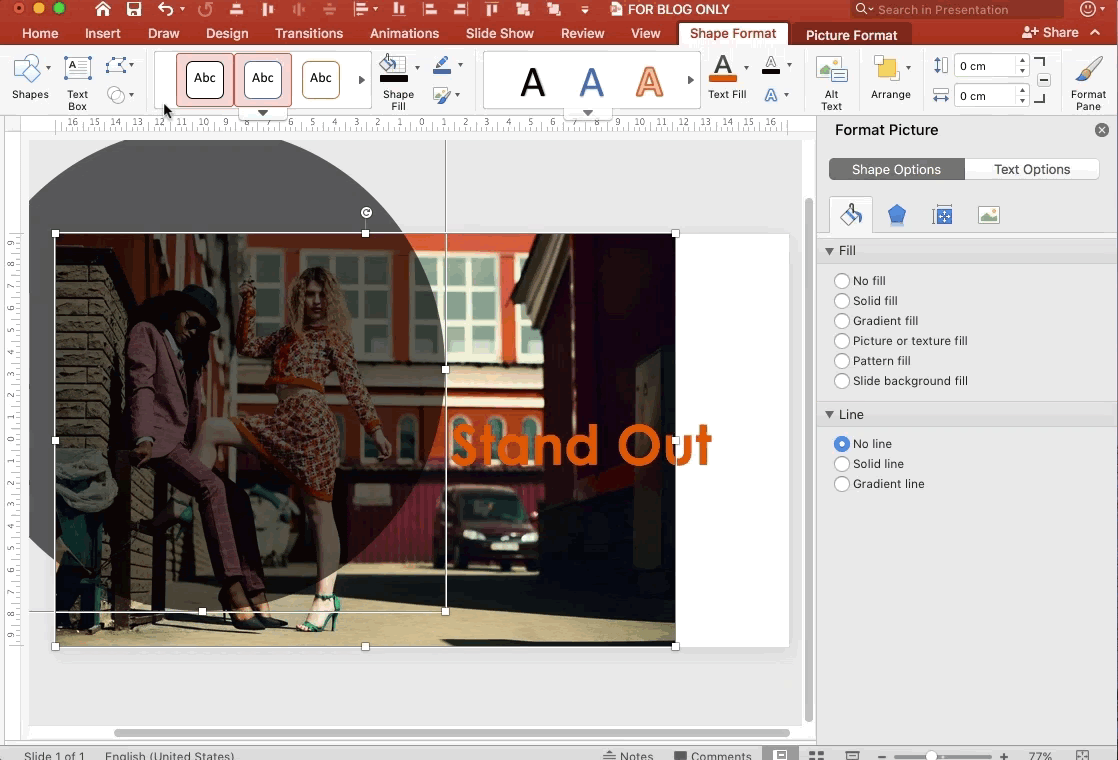
10. Make Text More Readable
If you’re trying to overlay text on top of photography, it could be hard to read because of the color contrasts. To correct this in a subtle, non-intrusive way, you can use a Shape with a gradient fill that sits behind the text, between it and the photograph.
To do this, go to Format Shape > Shape Options > Fill > Gradient Fill and set the one side of it to the color opposite to your text. In the below example, the gradient is a shade of black, so that the white text on top can pop. On the other side, set the transparency to 100% so that the gradient shape can blend nicely into the photo.

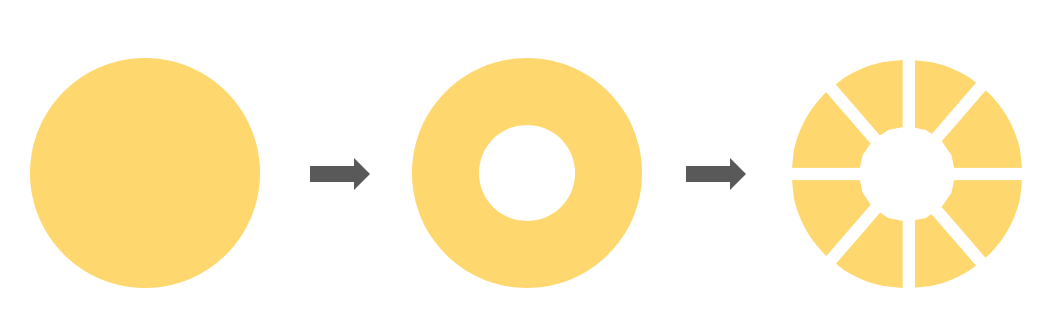
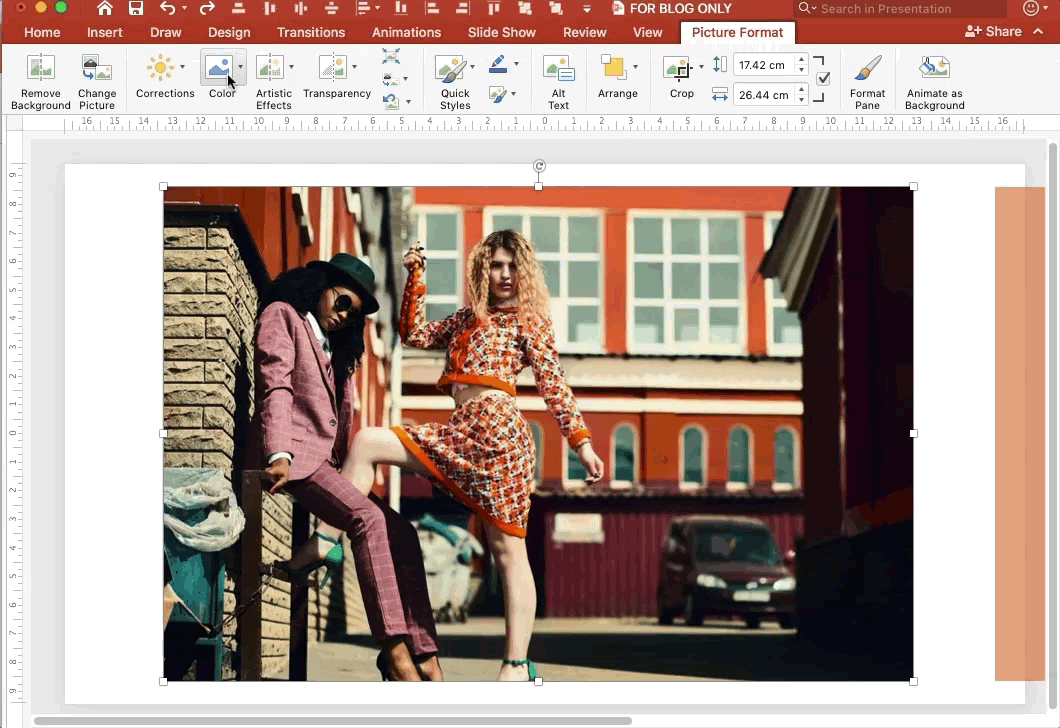
11. Create Custom Photo Sizes
By knowing how to create any Shape (see Tip #1 and #6), you can also create any shape for your photos. Simply place your Shape over the photo, then go to Shape Option > Merge Shape > Intersect.
Pro-tip: Again, with Merge Shape, order matters! Because you want to retain your photo and not the shape, you’ll need to select the photo first, hold the Shift key, then choose the Shape next before you Intersect the two.
12. Make Pictures Monochromatic
If you’re creating a presentation and want to keep the color schemes down to a core set (such as just your brand colors), you could consider making your photography monochromatic (one color but can include many shades of that color).
One way you can do this is to change the picture’s color to grayscale under Picture Format > Color. Then, create a Shape on top of it with your color of choice and increase its transparency within Format Shape > Shape Options > Fill.
Pro-tip: You can play around with the Shape color to create a gradient fill, for instance, if you want to achieve a partially colored look.
No Limit to PowerPoint Shapes!
Presentations don’t just have to be about text on a slide. Consider using Shapes and tapping into your creative side to bring presentations to life and give it character. While 12 tips are shared here, really, there are boundless ways you can incorporate Shapes to step up your presentation design game!


