Using Figma for a Portfolio Review

Over the past few weeks I have had the wonderful opportunity to share my work with some incredible designers. Initially when I was asked to share my portfolio, I had no idea what to expect. Should I just go through the projects on my portfolio website? Should I make a Keynote presentation? After consulting with some friends and mentors, I realized that an actual presentation format would best suit this situation. And so I began to set up a Keynote presentation. After getting everything in and organizing, I felt as if I could do more. And that’s when it hit me. What if I use Figma? 😲
Will it work?
Using Figma seemed like a great new approach to this project. But, at the same time, I had personally never heard of someone using the tool in this application. And so I began my spiral into Google searching. I was so surprised to see others who had thought to use Figma for presentations as well. I came across three unique individuals who had put together really solid methods for presentation design in Figma, Aaron Lewis, Namnso Ukpanah, and Zach Grosser.
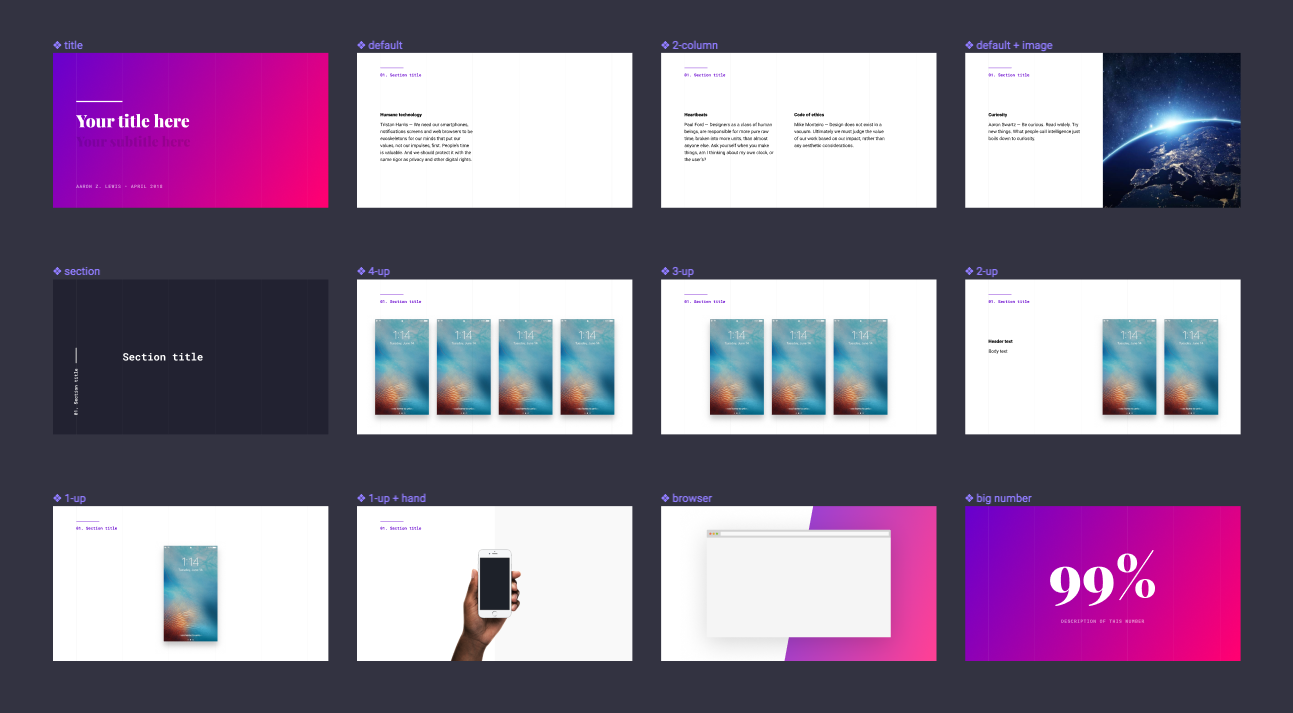
Aaron’s method was unique in that they chose to really harness the power of Figma’s components. With each component they had created swappable “master slides” that they placed within a larger frame for their deck. Then, using the prototyping features, slides can easily be linked to one another by linking the destination of one slide instance to another. This was especially great because it really allowed for slide control with the ease of swapping slides. The shortcoming here was that it wasn’t as flexible when I wanted to add images or text at-will.
Why is this game-changing? When you create a presentation in Figma, the designs in your slides are live embeds of the designs in your file. Your presentation will stay in sync with your designs. — Aaron Lewis
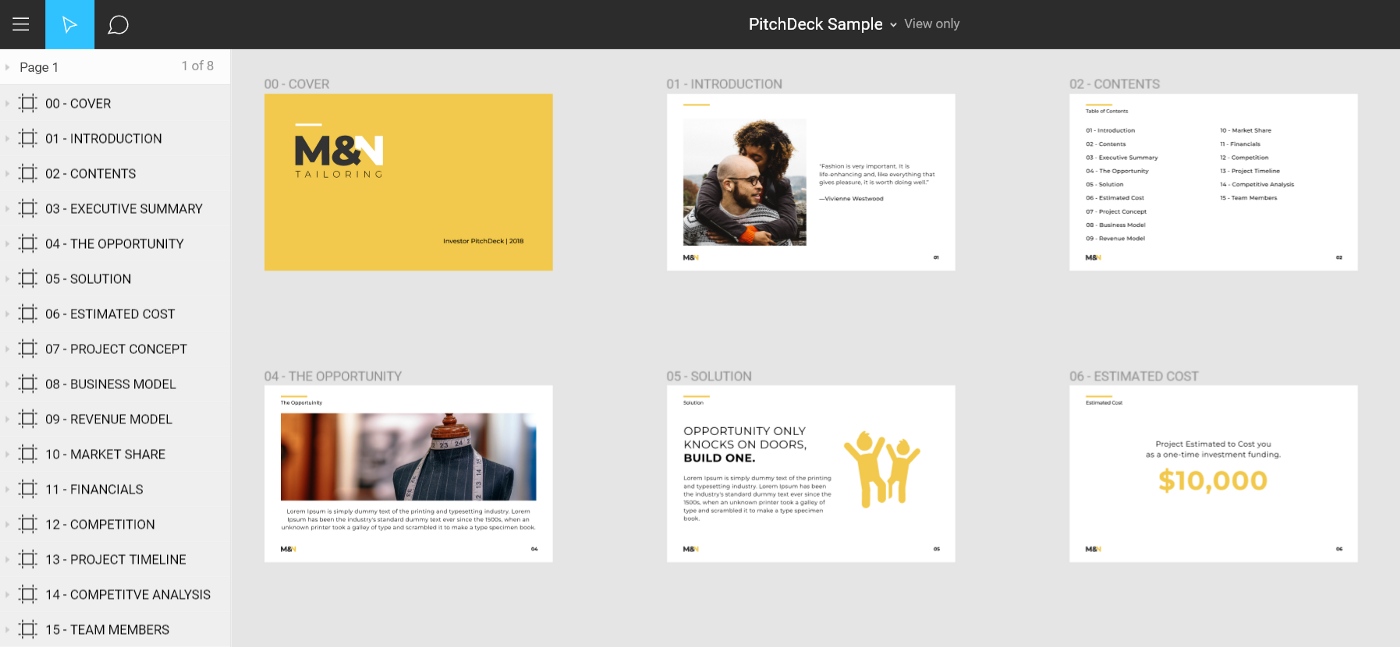
Both Namnso and Zach went with the format of using different frames as master slides. With this method adding images and creating any new content such as editable charts and such was really easy and flexible. Zach also used components for slide titles in order to keep their styles in sync.

The only caveat was that if I wanted to change the slide layout on the fly, I had to copy, paste, and edit each frame. For myself, this didn’t seem as efficient and streamlined as what I had found with Aaron’s method even though it did provide me with a little more flexibility and control of the individual content within each slide.
Best of Both Worlds
So here I was at a crossroads. Do I choose to go with flexibility over slide control? Or do I go with more flexibility over content control?
My solution: BOTH!
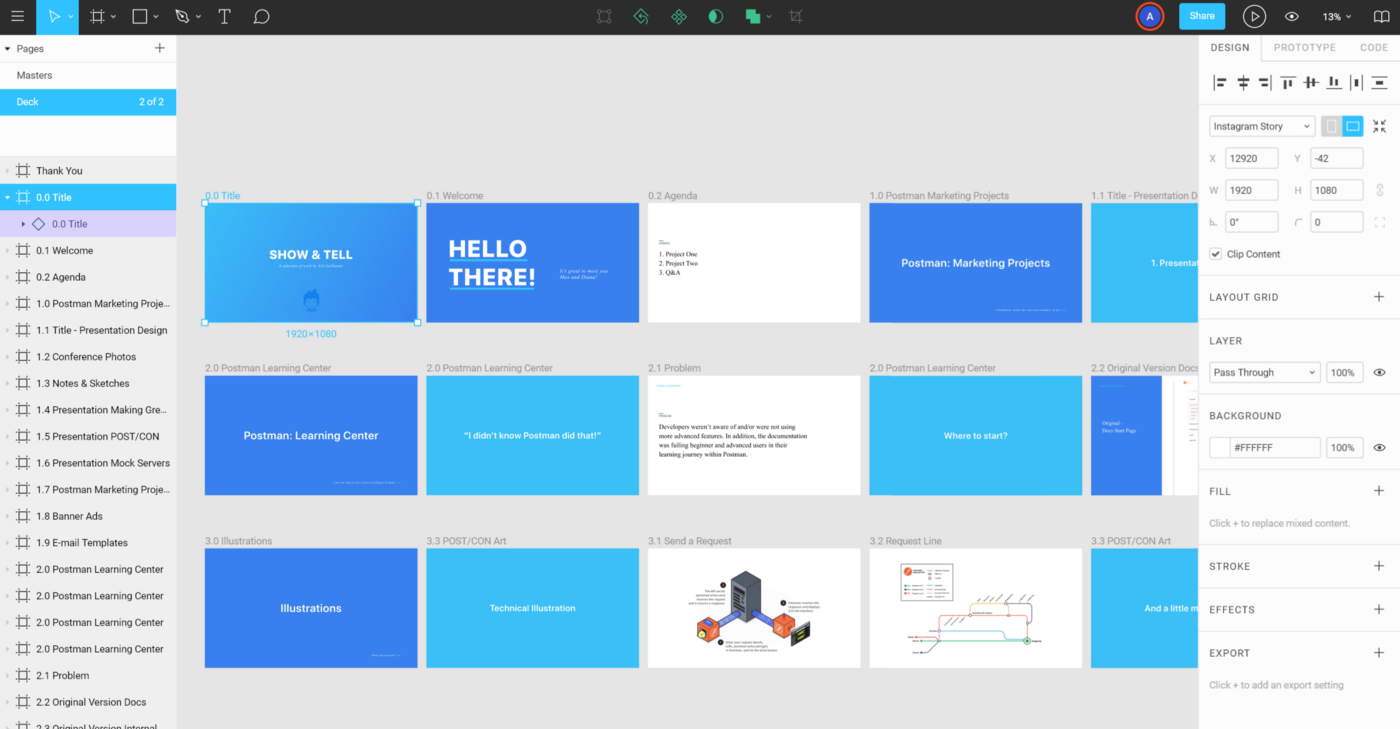
I broke up my Figma into two pages: Master slides and my actual Deck.
Setting up the Masters 👑
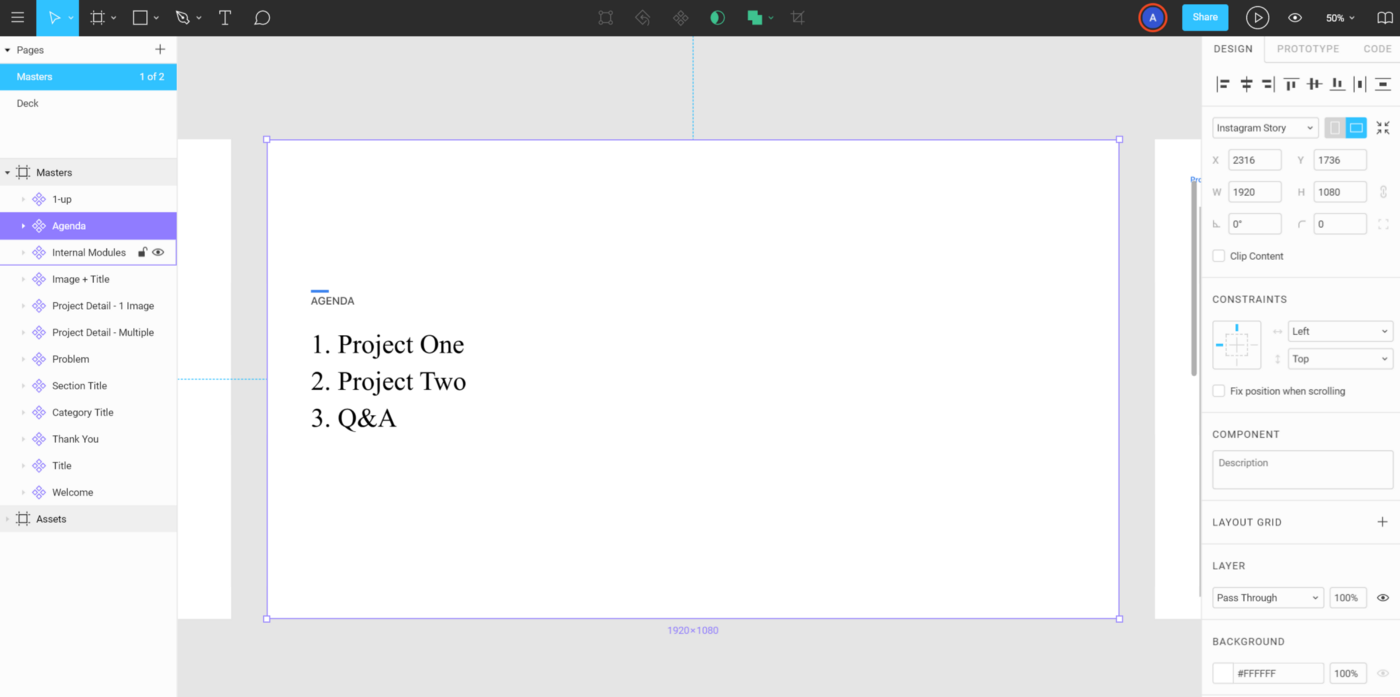
In my Masters, I set up all of my Master slides as individual components. Each master slide component was labeled with a clear functional title in order to keep everything clear and organized.
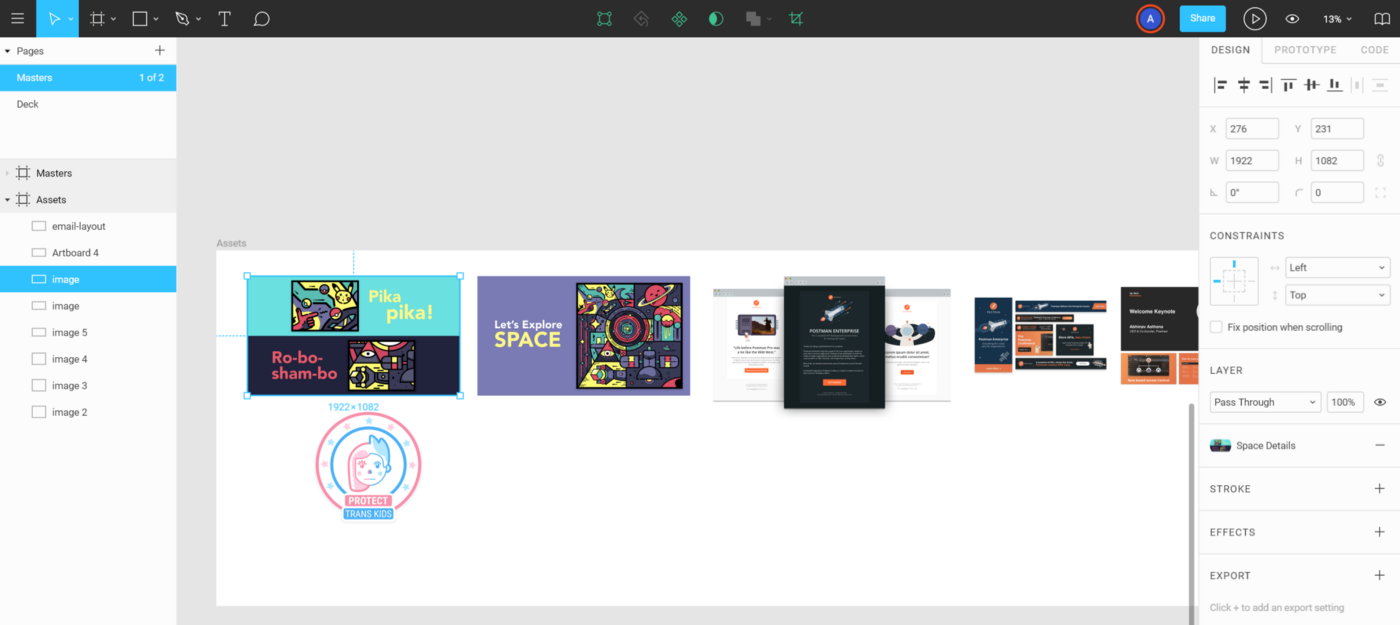
I also created a frame that included my Assets where I created different image fill styles for certain screenshots of my work. By using the image fill styles I could easily swap individual content on the fly without having to swap slide formats or individual slides. This really helped as I continued to scale up the presentation. For this solution I need to give credit to Meng To for showing me this trick when he used image fill styles for different background images in his Design System with Figma class.
Building the Deck 🛠
In my Deck, I created a frame to represent the actual slide and then dropped a “master slide” component onto it. With this method I could easily swap slide formats quickly with the Instance selector in the Design tab drop down AND I could drop new shapes, images, etc. on top of the component since they all lived on a single frame.
Presenting 🖥
This method also eliminated the need to have to connect each individual slide with the prototyping tab. As long as I maintained the left to right / top to bottom organization of my slide frames, there was no need to manually connect each slide.
A Presentation to Remember
Using Figma for my Portfolio Review presentation was a dream! Not only did I have the flexibility of a robust design system, but with the ease and control of harnessing components and the presentation features, Figma proved to be a major contender to Keynote! As Aaron Lewis stated, staying within one tool made the entire process so much more fluid. And with the live embed and features, sharing this presentation is easy as pie! Mmm…pie! 🥧
I’ve included a sample of my file for anyone to look at, dissect, and add to! Just open it up in Figma and duplicate it so that you can play as much as you’d like with your own draft. If you would like to see my actual portfolio presentation, reach out to me on Twitter and I’ll be in touch!
For Next Time
There are few things to note that I would change for next time:
Plan, plan, plan! 📝
First of all, planning each and every slide is great, but like all things, new things come up and with that there was a little more restructuring that occurred during this project. Also, having every asset ready and prepared makes adding and organizing so much easier!
Stick with the program! 🤖
Second, creating a solid naming convention and organizational system ahead of time is critical! There were plenty of times throughout this project where I found myself renaming components and slides so that they made sense for the order that they were listed/displayed.
The End
Thanks for reading this! This is my very first design/how-to-ey kind of article and I am so happy to be able to share my process with you. Please go forth and use this resource. Duplicate into your own Figma workspace and go crazy!
A big BIG thank you to Aaron, Namnso, and Zach for paving the way for this project. Without their projects none of this would have come together as organically as it did. Thank you all so much for sharing the amazing work!
Lastly, if you have any comments and/or suggestions for this project please share below. Also, if you’d like to connect and talk more about Figma or presentation design or just want to say hi, please feel free to reach out on Twitter!
Ash Guillaume is a graphic designer living in San Francisco. Sometimes he posts up a random doodle on Dribbble but mostly he likes to think about puns for everything. He loves to meet and connect with new people so feel free to reach out on Twitter to @_aguillaume.


